
Before you launch that onsite attempt, take a moment to preview the route: “Sequence” the moves, notice where the route runs and ends, and double-check for other climbers that may be close as you ascend the line. Remember –
One of the most common belayer injuries is a collision when the leader falls low on the route. Stay out of your climber’s fall zones!
The Hop – unweight one toe with an upward hop,
quickly replace with the other toe. While this places
force on the arms and is less precise, it works.
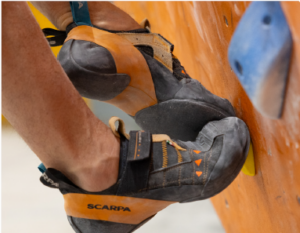
The Smedge – Rotate the weighted foot to the
outside to make space on the hold, then quickly roll
the edge of the other shoe onto the exposed surface
of the chip.
Kneebars can be one of the most useful moves in climbing, for both boulderers and roped climbers alike. By camming your foot and the top of your knee or thigh between two surfaces, you can rest your upper body, or help climb through a section without using as much upper body strength as you would have otherwise.
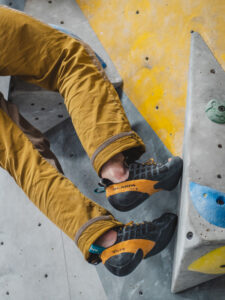
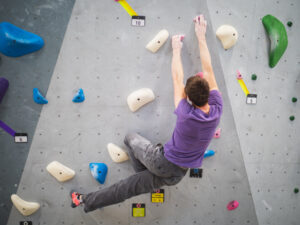
Instead of looking for footholds, smearing allows you to use any part of a surface as a foothold. When smearing your feet, keep your heels low and commit weight into your foot. This will increase the surface area of your shoe’s sticky climbing rubber onto the wall and ensure you don’t slip.
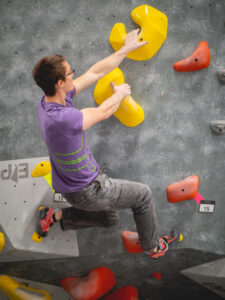
The drop knee is when a climber rotates their hips towards the wall and lowers the corresponding knee. The other foot should rest against a hold for support.
Drop knees lower your center of gravity and can relieve pressure on your hands. They can help you reach a hold that seems too far, provide stability to help balance, and most importantly: they make you look cool!
Toe hooks aren’t the most intuitive climbing technique but can be an invaluable tool in every climber’s arsenal. Rather than using the bottom of your shoe, toe hooking requires you to use the top of your toes or foot on a climbing surface to balance or pull.
A toe hook is typically used to maintain body tension while making a move. Toe hooks are not always necessary, but when properly used can greatly improve your efficiency as a climber.
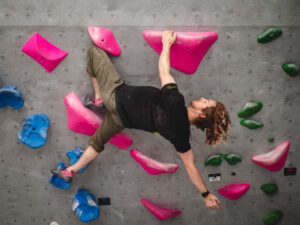
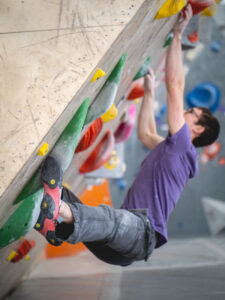
Sometimes, it’s actually easier to make a move when you leave one foot off the wall. This technique is called flagging and is a tool which should be in every climber’s arsenal.
Generally speaking, this technique is helpful when you’re using holds that are all on the same side of your body. By using your free hanging foot to counterbalance, you can gain more reach, prevent a barndoor, and create a stable position to reach your next hold.
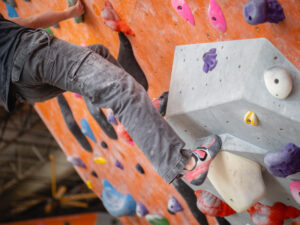
Footwork should utilize “smearing” to make more surface on the volume usable. Remember when smearing, low heals will increase surface area contact on volumes.
Open handed grips can make volume edges work like big slopers.
Dynamic ropes need time to recover after absorbing the forces from a lead fall. Get the most out of your rope and postpone the dreaded “core shot” by letting it rest between burns. Flipping which end the climber ties into after working a route and taking hard falls, or even after every couple of routes, is a good way to disperse wear and extend the life of your rope. In addition, letting your rope rest has been shown to reduce impact forces in drop tests.
For more on taking care of your rope, check out the video from Mammut below.
A belay device is always used in tandem with a climbing rope, and each device out there has an optimal range of rope widths it can handle. Most tube-like belay devices can accommodate a pretty wide spectrum of rope, but brake assisted belay devices work best within a narrower range.
Ever wonder why there are so many carabiner shapes and sizes? If you belay with a tubular style belay device (like a Black Diamond ATC) you should be using an “HMS” style carabiner.